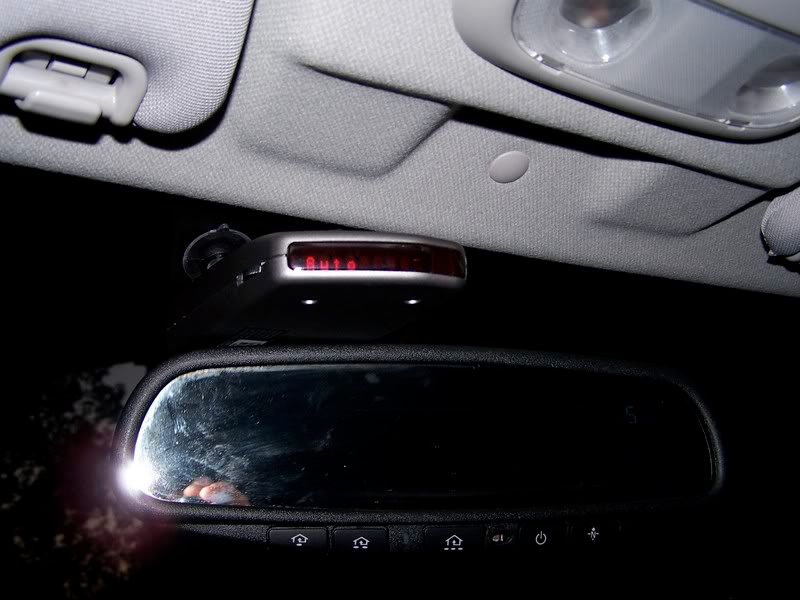
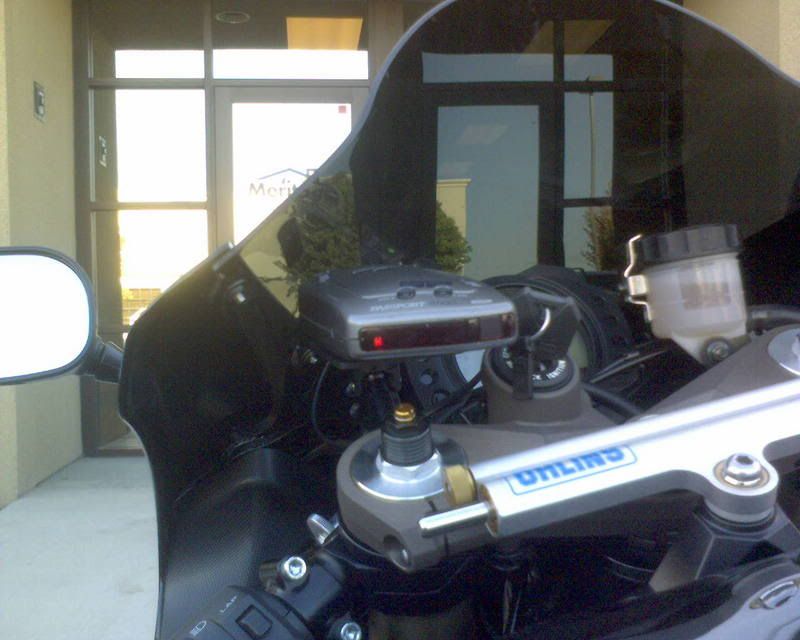
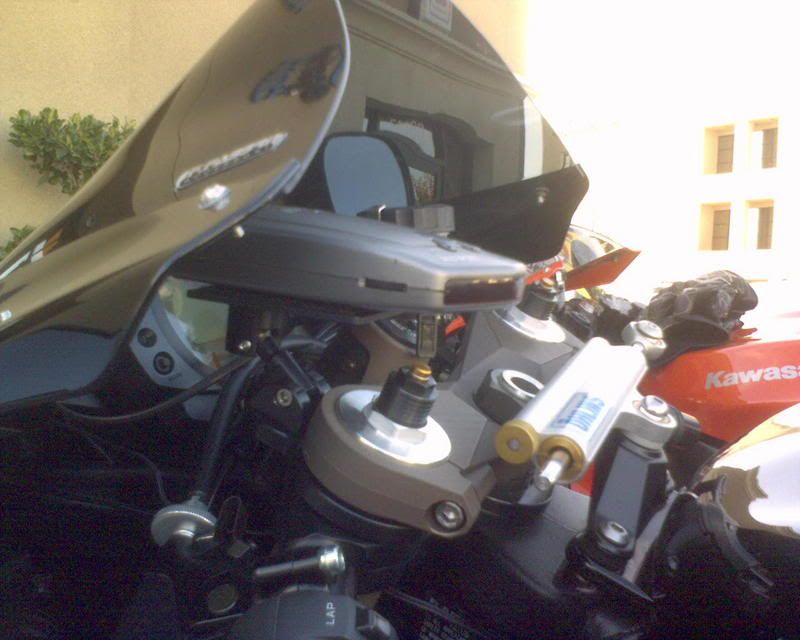
Put a picture up of the location you have your RD mounted.
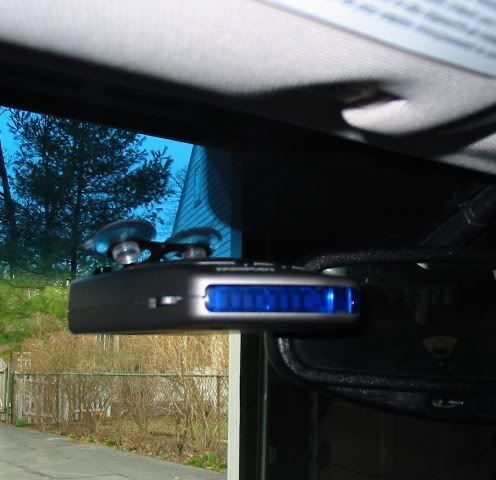
Mine is above the mirror
Ill get some better pics sometime
|
|

|

|
|
|


Put a picture up of the location you have your RD mounted.
Mine is above the mirror
Ill get some better pics sometime
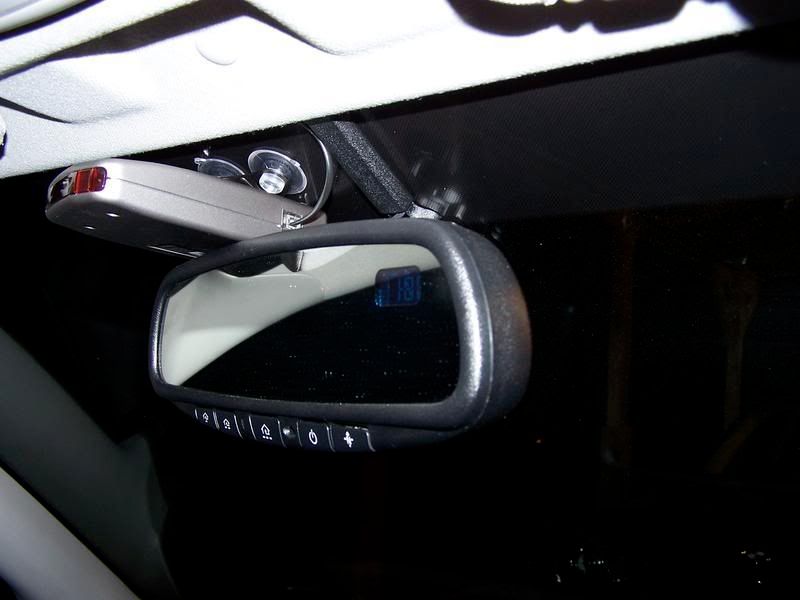
^do u place it high and low sometimes? i see your suction cups on the bottom
hey orbital how did you hardwire the rd? Did you put the wire in the top trim? did you have to completely take out the roof trim?
When I first moved the detector to a high mount, I left my other set of suctions cups down low in case I wanted to move it back to it's low mount. Well after a mouth or so I noticed a pretty good bit of increased range so I left it high and took the low suction cups off. it's an older photo so I guess I should photo Shop out the lower suction cups.Originally Posted by 03c0upe
Nope, Just took a small flat head screw driver and pushed the wire back into the Trim and down the side of the A-Pillar. Works like a charm and will be easy to remove if I should ever decide to sell the car. I wired the power wire to the fuse box with a fuse tap and then grounded the ground wire to a preexisting bolt on the fire wall. I ended up using the cigarette lighter fuse, There was a layout on the inside when I opened my fuse panel which told me what fuse went to what part of the car.

Not in a car... but... heres mine.
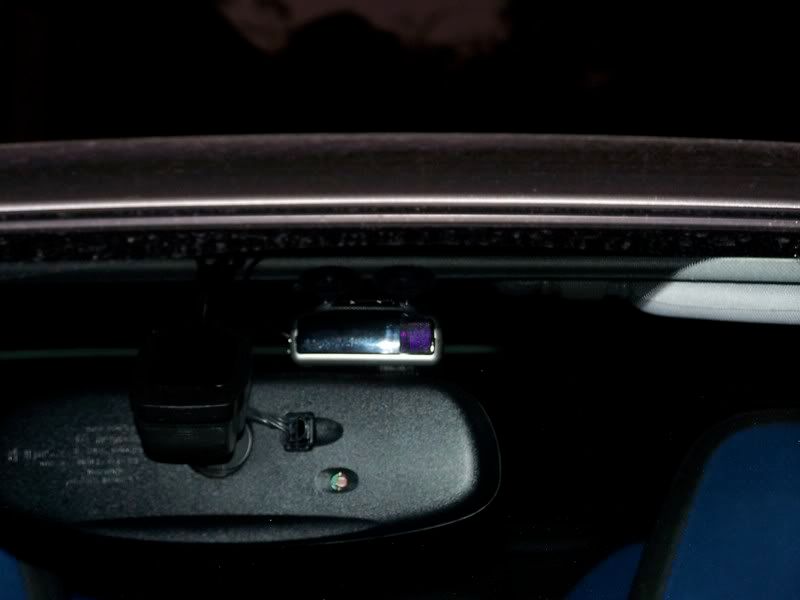
Here's my x50 Rev5.
Mounted to the left of the inside RVM.
Sorry for the dark picture, I lack any Kung-Fu, at all, in terms of photography.ops:
The wire is the remote link for the ZR3 Shifter. For those who do not use the ZR3 or are unfamiliar with the Escort product line, this allows integration of the ZR3's warning displays to the x50, as well as allows for mute and send/jam disable control of the ZR3 units.
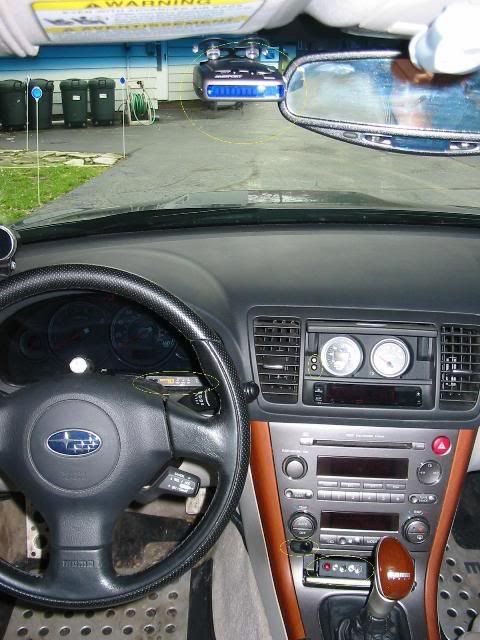
The picture below shows my center-stack:
Yellow ovals highlight items of-interest. Working top-to-bottom....
You can see detector placement a bit better here. I like this position, which has the lens peeking out just under the tint band, as it lets the detector sit close to my line-of-sight, which is a personal preference of mine.
In the center stack, just to the lower left corner of the dual gauges (AEM UEGO wide-band O2 gauge, AutoMeter SportComp II voltmeter), you'll see the dual-mode LED indicators for my LPPs. The one at the top correlates to the front, the one at the bottom, rear. This setup fails to provide ready "real-life road-use" readout of exactly WHICH sector of the vehicle is responding (as the LEDs are spaced too closely to each other) - and is the reason why I use the ZR3/x50 combo...to tell me if I'm being shot-at with LIDAR from the front or rear.
If you look in my main instrument cluster, you'll see the ZR3's actual control unit. I keep that visible as during vehicle start, the control unit will show a visible front-to-rear check of the heads. This read-out then blanks-out as the signal and controls are shunted to the x50.
The ZR3/x50 remote mute is surface-mounted just under the driver's side HVAC control. This is located next to my right knee, which is convenient in that it offers me proprioceptive location of the mute button for easy night-time use.
Immediately below and just to the right of that, you'll see my LPP controls. I have two control boxes, one for the dual-head unit up-front, one for the single-head out-rear - the controls are mounted side-by-side, front - rear. The red LED is a "pilot light" to help me better locate these controls at-night, should I need to deactivate/mute their alerts (the use of the x50/ZR3 integration also helps in this regard, as it consolidates my controls, making my reaction to LIDAR threats a bit quicker), since these are outside of my natural proprioceptive space. The panel that the controls mount to is just the top half of a plastic project enclosure from RadioShack, cut-down slightly in width so as to fit into my ashtray. This entire "cubby," which houses the ashtray and the cigarette lighter (that round knob to the right of the controls) is on a factory hindged door that hides that entire area from view when closed.
---
Oh, and yes, I know, dirty interior.
Sorry, but the winter's been harsh so far, and I've also not had much time lately as work's been busy, and once I get home, it's all about playing with baby-Anna.

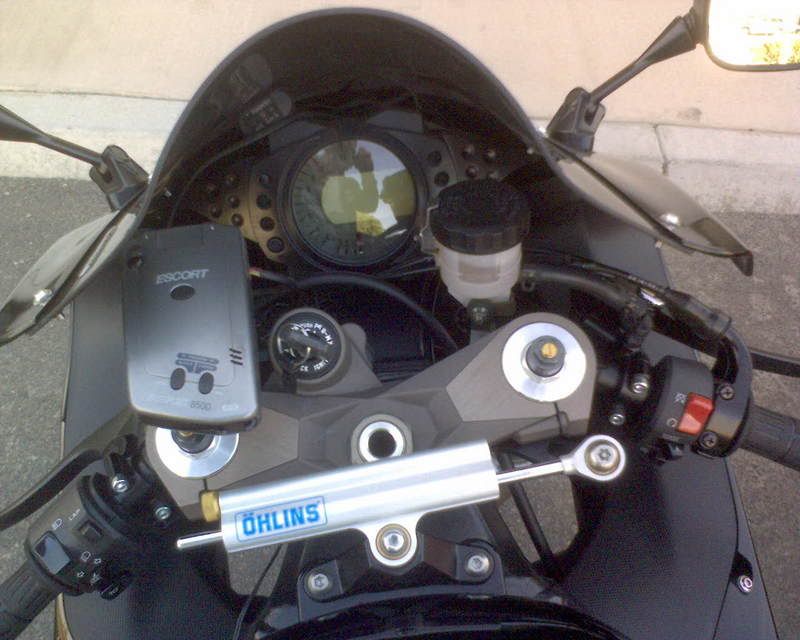
Very Nice Moto mount.
TSi+WRX - that's a clean setup, I like how you integrated the aftermarket electronics nicely into the stock dash. Looks like they belong there in the first place.
^
You're *wayyyyyy* too kind, bruddah.
I'm a total hack when it comes to interior work.....
I tried my best to get items which matched my car's gauge cluster. In one of the interior pictures, you can see how the photostrobe on my camera was bright enough to shine through the "off" (blank/black) state of my main cluster - my factory gauges are electroluminescent, white markings on black background, with red trim ring.
The AutoMeter NEXUS was able to match this precisely, and the AutoMeter SportComp II also comes close. With the AEM UEGO, I basically chose it as it had a silver trim ring - and because I couldn't really justify getting the Inovate! wideband due to budget considerations (but in-retrospect, I think I'm going to be upgrading to this, regardless).
As for the Cubbypod, I cannot take credit for that - that's the creation of a fellow BL/BP chassis enthusiast who designed, makes, and markets these things as a side-business of his own. Awesome product, and it even allows us to close that particular storage cubby's cosmetic cover, to hide our gauges.
 Posting Permissions

 Reply With Quote


Bookmarks